Spindle
geometry alignment
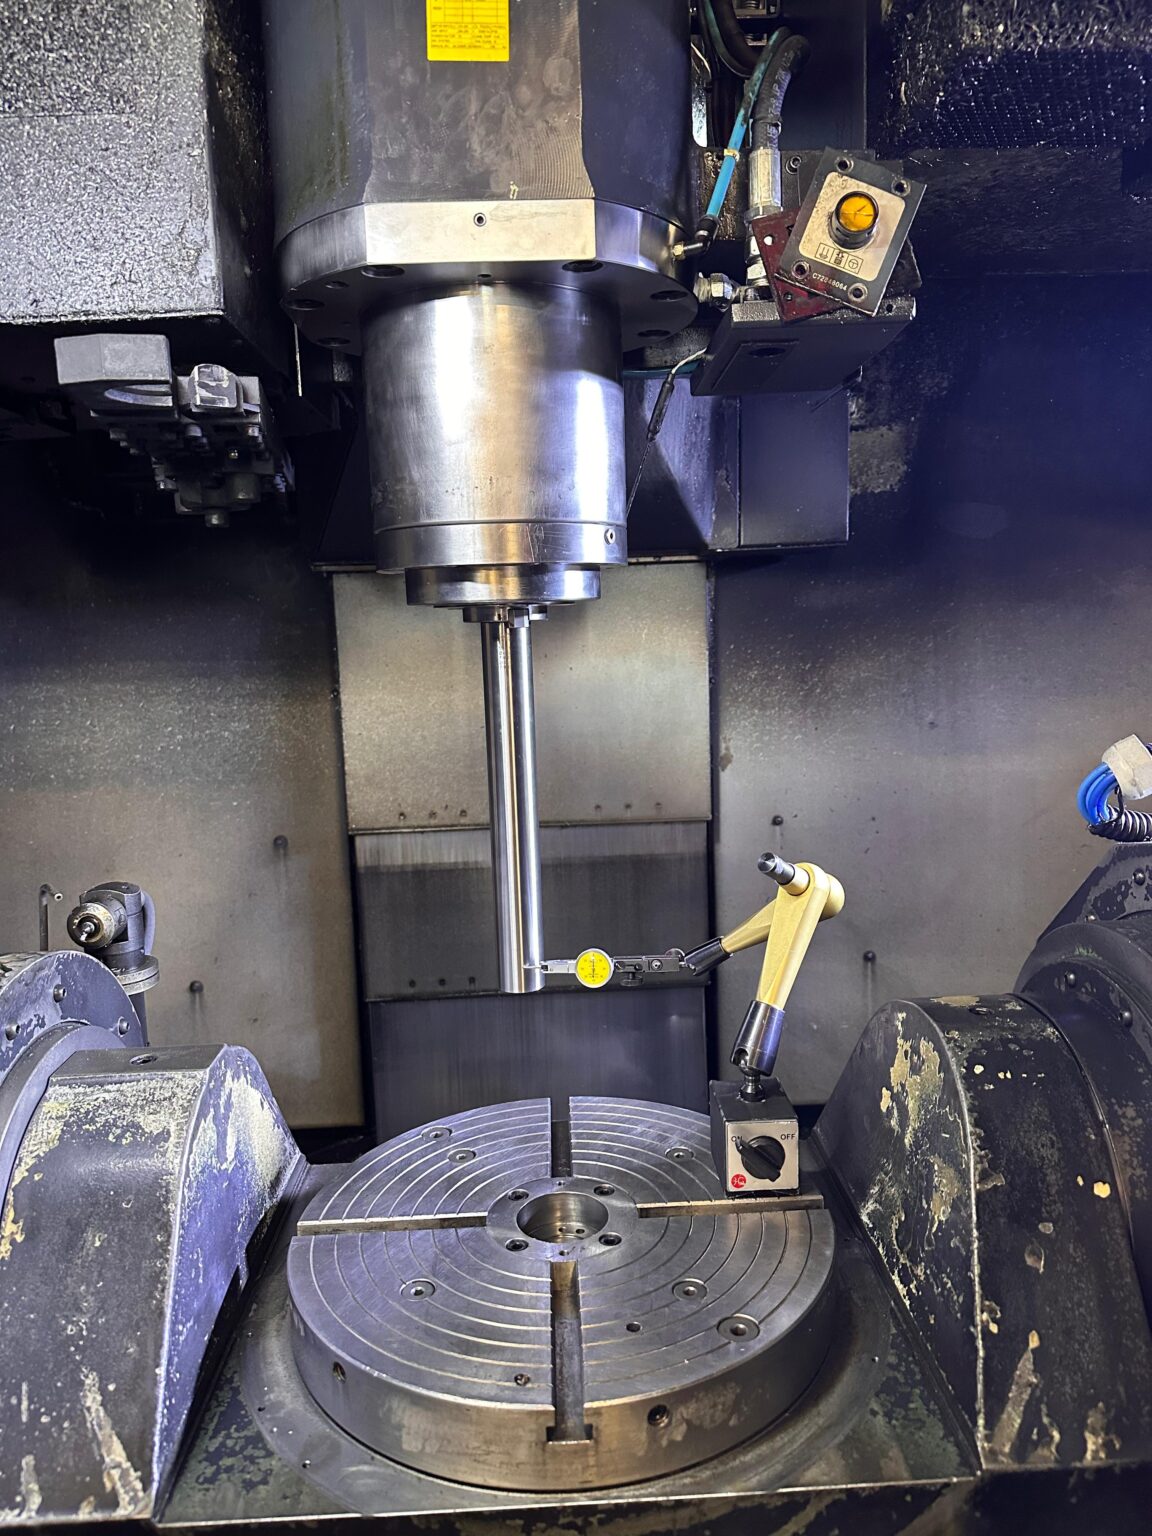
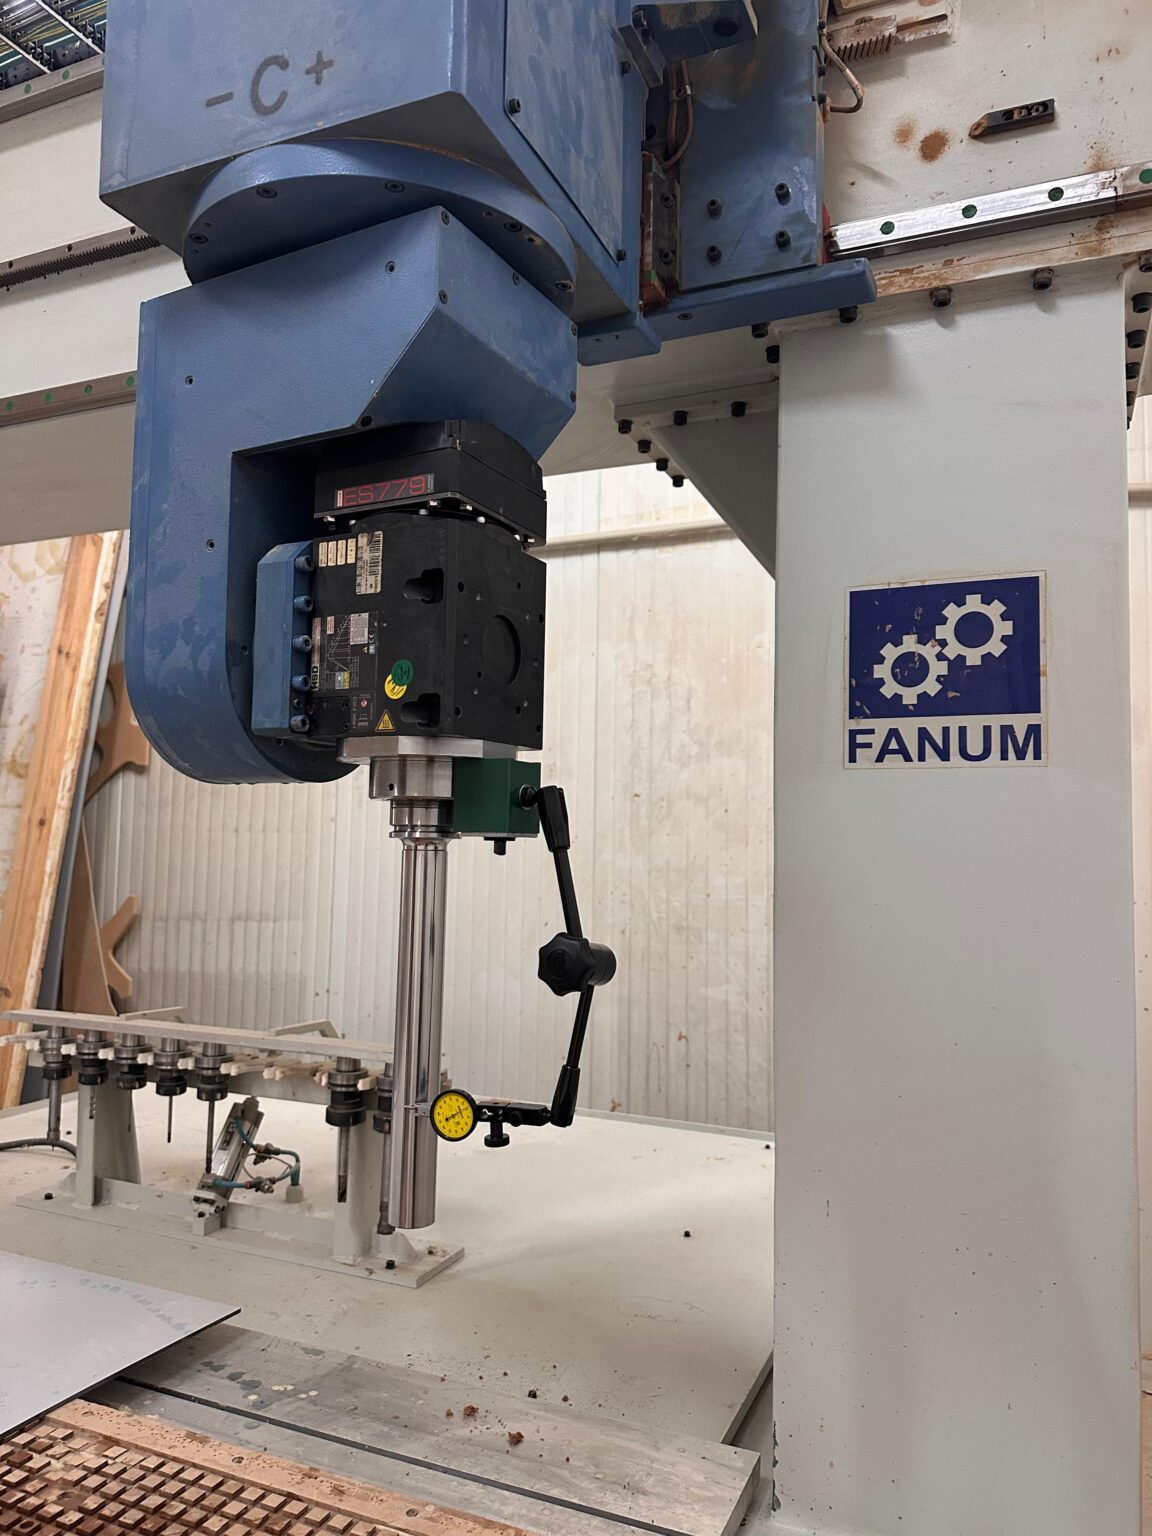
CNC spindle geometry alignment – perfect concentricity, precise machining.
Accurate CNC machining starts with a properly aligned spindle. Even minimal deviations from the axis can lead to excessive tool wear, dimensional errors, and reduced surface quality.
At BMS Spindle Service, we specialize in precise spindle geometry alignment, restoring it to OEM or ISO tolerances. We use both laser and mechanical techniques, preceded by detailed diagnostics and followed by final verification of the alignment results.
This service is intended for machines showing signs of wear or vibrations, as well as for preventive calibration after spindle installation. We guarantee improved machining quality and stable spindle system performance.
Why spindle geometry alignment
is crucial for machining accuracy
Incorrect CNC spindle geometry directly affects machining quality, tool life, and the dimensional accuracy of produced parts.
Consequences of misaligned spindle geometry:
- Dimensional errors in parts – incorrect angles and deviations during machining.
- Faster tool wear – uneven load on cutting edges.
- Improper tool clamping – spindle taper misaligned with the machine axis.
Precise spindle geometry alignment eliminates these issues, ensuring maximum accuracy, better tool holding, and longer spindle system life.

Spindle geometry alignment
step by step
Each spindle geometry alignment procedure at BMS Spindle Service CNC is carried out with attention to every detail. We use traditional measuring methods as well as modern laser systems – depending on the machine design and the required tolerances.


The most common spindle geometry problems
and their solutions
Dimensional accuracy issues of machined parts
Incorrect spindle axis alignment causes deviations during machining.
Solution – Geometry correction and calibration eliminate dimensional errors.
Spindle angular misalignment
The spindle is not perfectly parallel to the machine guides.
Solution – Spindle axis adjustment and precise measurements bring it within standards.
Uneven tool wear
Tools wear faster on one side, indicating poor spindle alignment.
Solution – After geometry alignment, tools wear evenly, extending their lifespan.
Frequently
Asked Questions
Spindle geometry alignment
with micrometric precision
Eliminate dimensional errors and extend tool life with professional CNC spindle geometry correction.
-
Geometry measurement accuracy up to 1 μm
-
Spindle calibration after refurbishment
-
Measurement report after geometry alignment
Request a quote
