Precision CNC
spindle repair
Professional CNC spindle repair – we restore reliability and precision.
Spindle performance and precision are the foundation of efficient CNC machining.
At BMS Spindle Service, we specialize in comprehensive repair of spindles and electrospindles,
achieving parameters equal to or exceeding OEM standards.
Regardless of the cause of failure – wear, vibration, or complete breakdown – we offer a full range of services: from advanced diagnostics, disassembly, cleaning and bearing replacement to taper grinding, dynamic balancing, and final performance tests.
Thanks to our experience and precise service procedures, we significantly extend spindle life and reduce the risk of production downtime.
Why CNC spindle repair
is essential for precision and cost reduction
The spindle is a key component of any CNC machine — responsible for precision, cutting power, and surface finish quality. Even minor damage, such as bearing wear or taper erosion, can lead to reduced machining accuracy, lower performance, and a higher risk of costly failures.
Regular or emergency spindle repair allows you to:
- Maintain precise machining tolerances – crucial for high-accuracy manufacturing.
- Reduce vibration and noise – eliminating play and imbalance minimizes the risk of part or tool damage.
- Prevent unexpected machine downtime – spindle failures are among the most expensive production interruptions.
- Extend spindle and bearing lifespan – repair instead of replacement means real savings.
- Avoid high costs of new spindle replacement – we restore OEM-level performance without the need for a new unit.
Professional repair restores 100% of spindle functionality – improving smooth operation, reducing noise, and optimizing tool clamping force.

CNC spindle repair
step by step
Each spindle at BMS Spindle Service undergoes a structured, multi-stage process in a controlled service environment. This allows us to restore full functionality, meeting or even exceeding OEM standards.
We then carry out a thorough initial inspection:
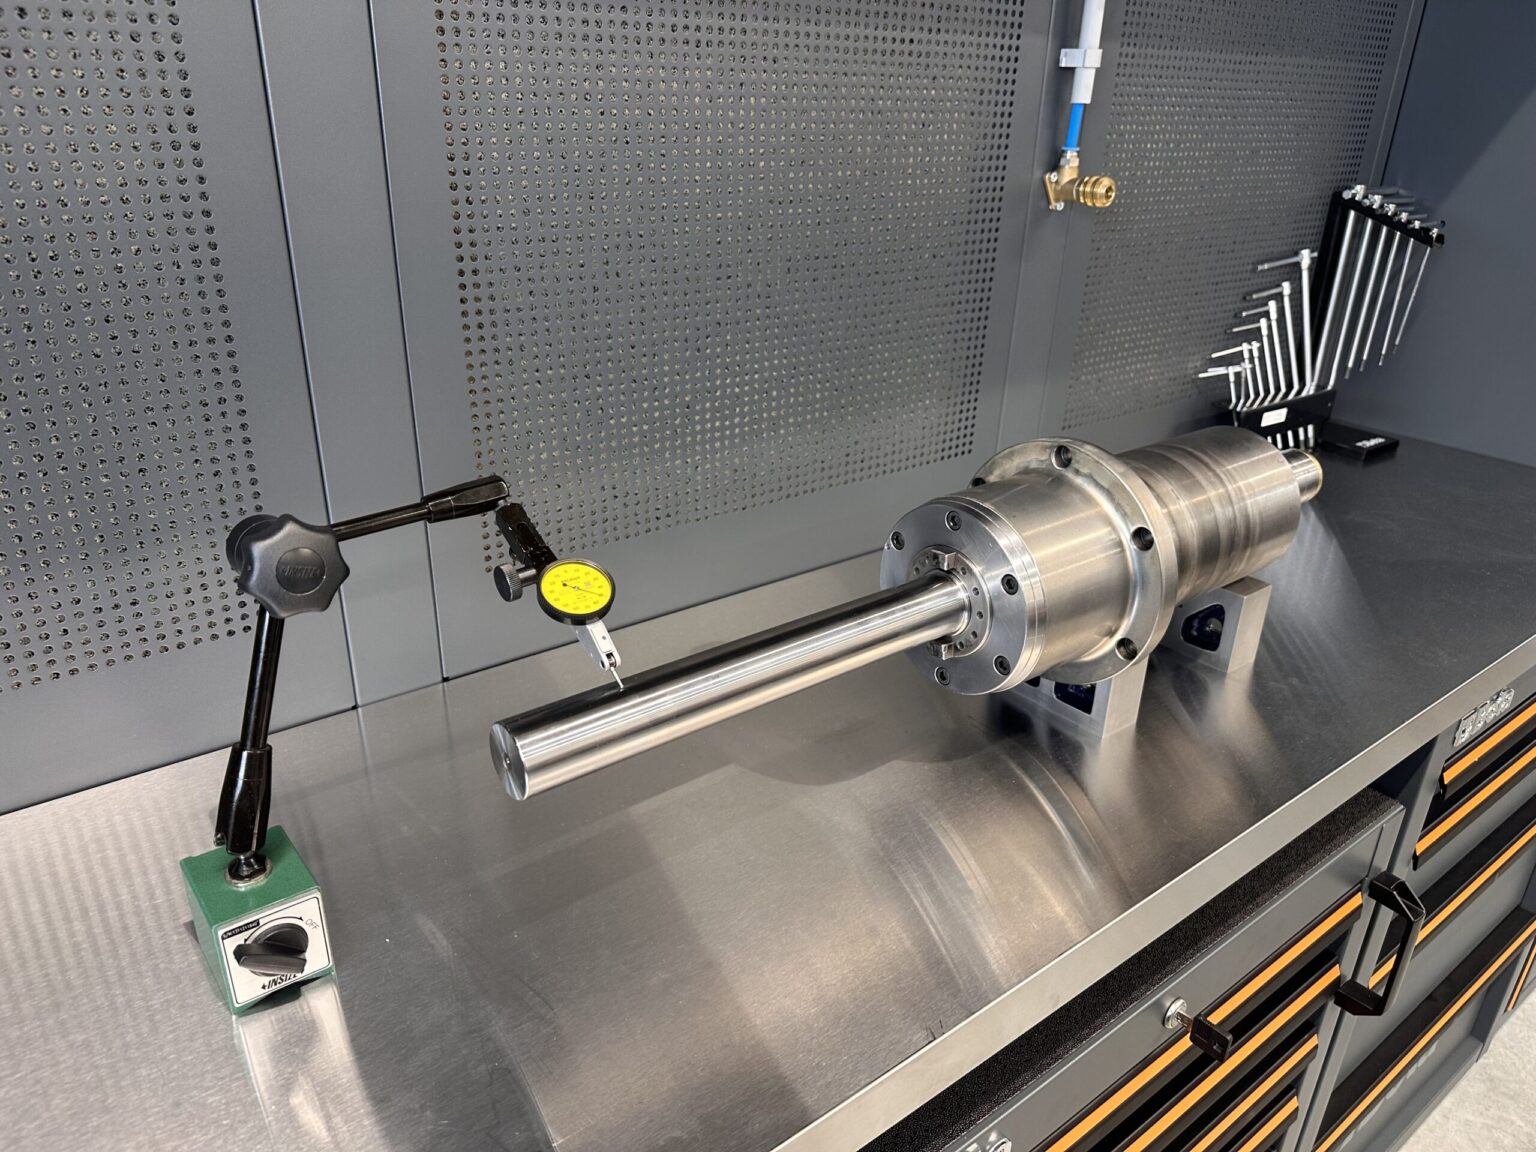
- measurement of radial and axial runout,
- tool clamping test (if the machine has a clamping system),
- evaluation of taper geometry and contact surfaces,
- inspection of sensors, encoders, probes, etc.
After the inspection, the spindle is moved to the technical zone for disassembly and further diagnostics.
At this stage:
- bearings are removed without damaging the housings,
- all components are cleaned (e.g., in an ultrasonic bath),
- residues of coolant, grease, and chips are removed,
- each part is labeled and sent for further analysis.
The spindle is now ready for detailed damage evaluation.
The scope of the analysis includes:
- assessment of bearings, rings, shims, lubrication,
- inspection of shaft, taper, runout and friction surfaces,
- verification of taper surfaces (HSK, SK, BT, ISO) for wear,
- identification of possible failure causes (overload, coolant, overheating, etc.).
Based on the analysis, a detailed service report and repair plan are prepared.
The scope of work includes:
- restoration of tool tapers (grinding, hard chrome plating, metal spraying),
- calibration or fabrication of bearing sleeves,
- installation of new premium-class bearings (GMN, FAG, NSK, SKF),
- replacement of seals, sensors, clamping elements,
- setting preload and axial tensions according to OEM specification.
All components are assembled in a cleanroom environment following quality procedures for precision spindles.
This stage includes:
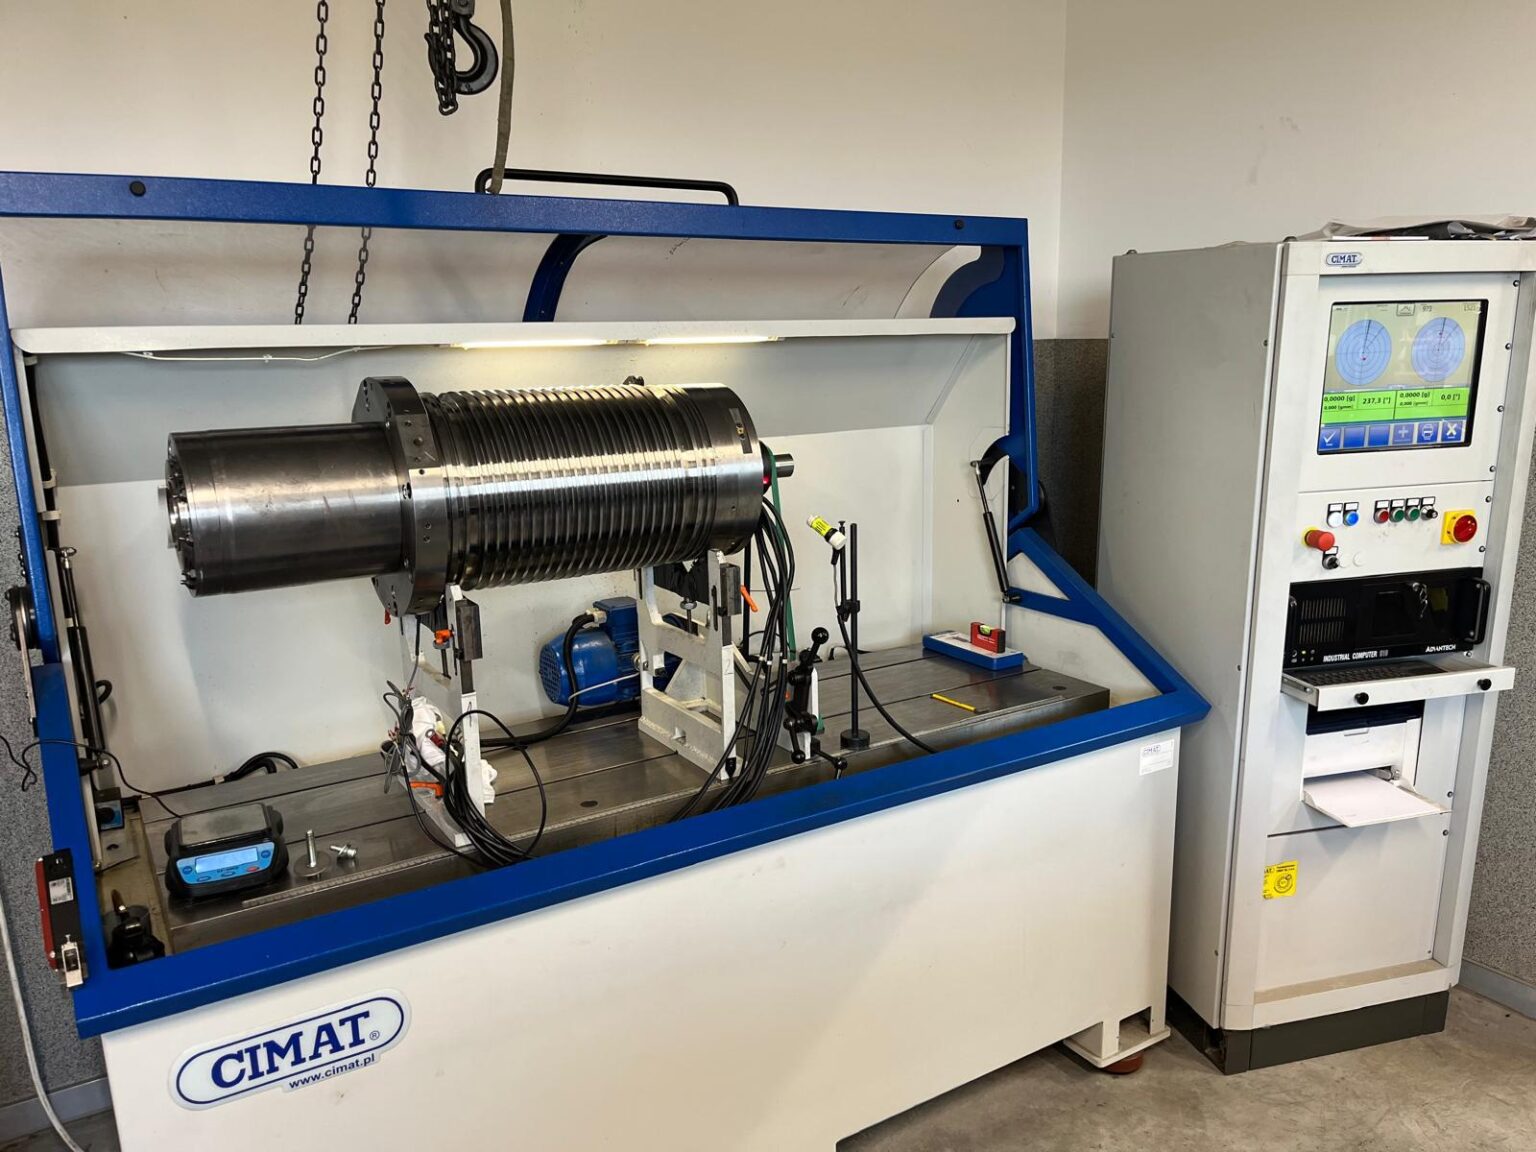
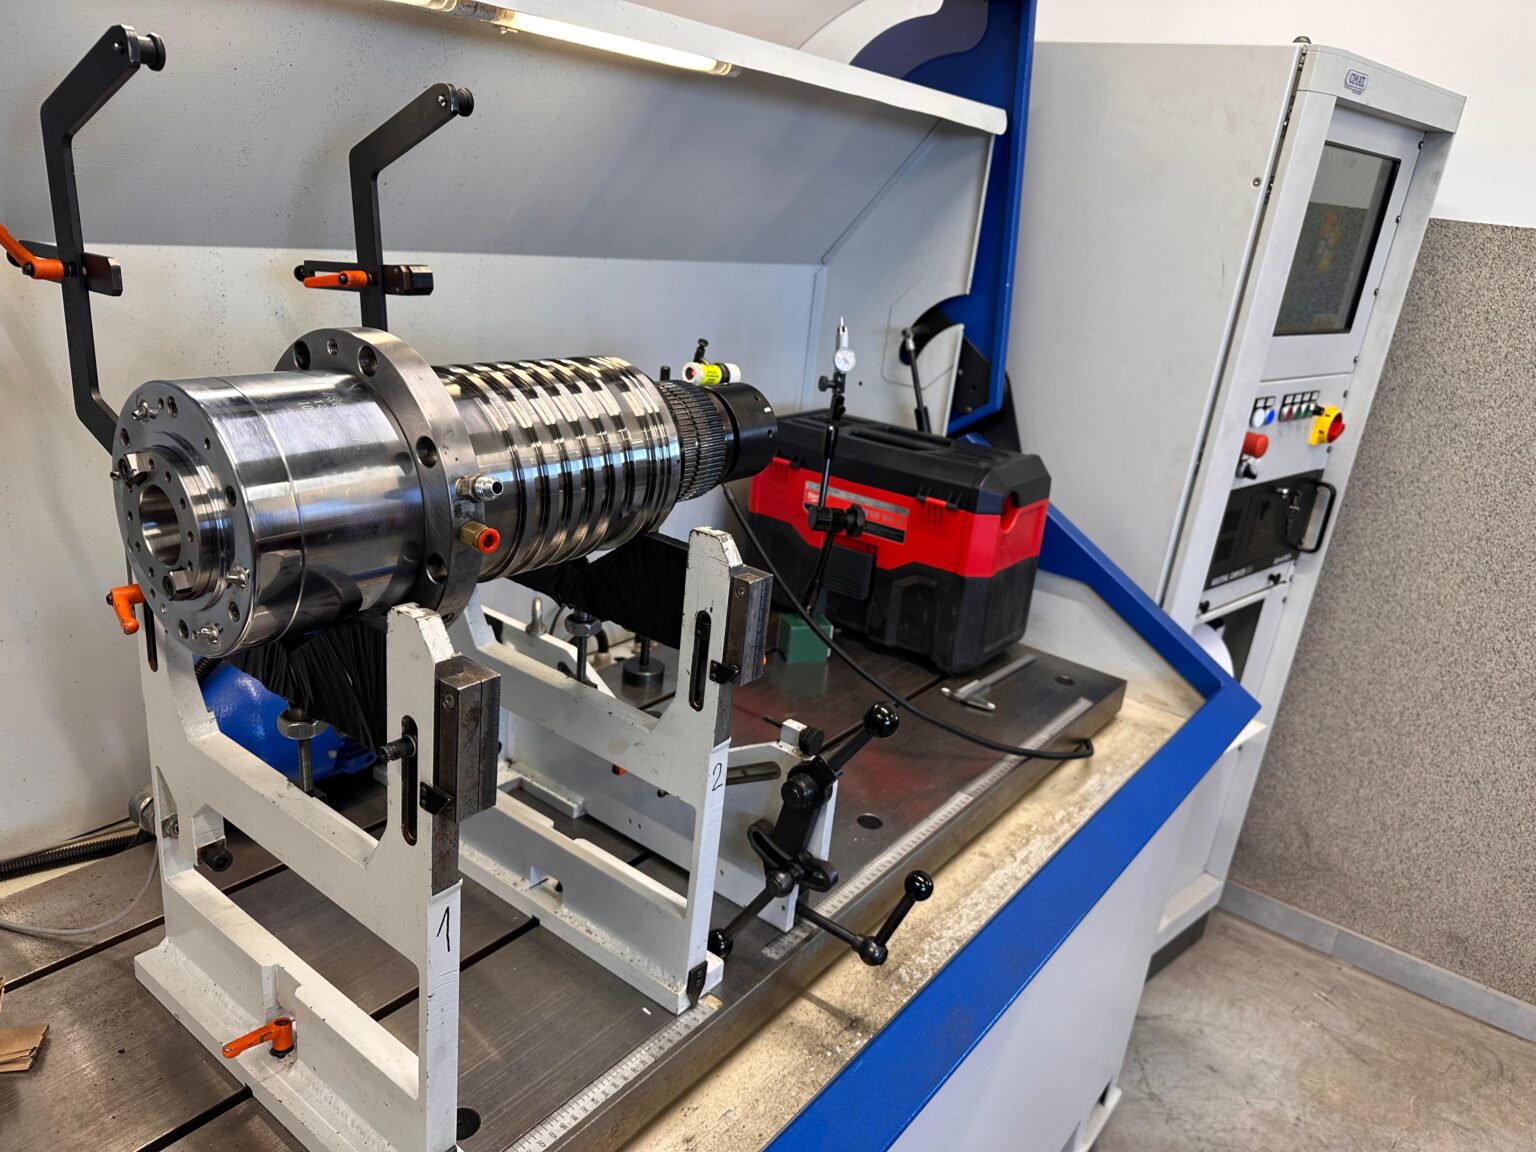
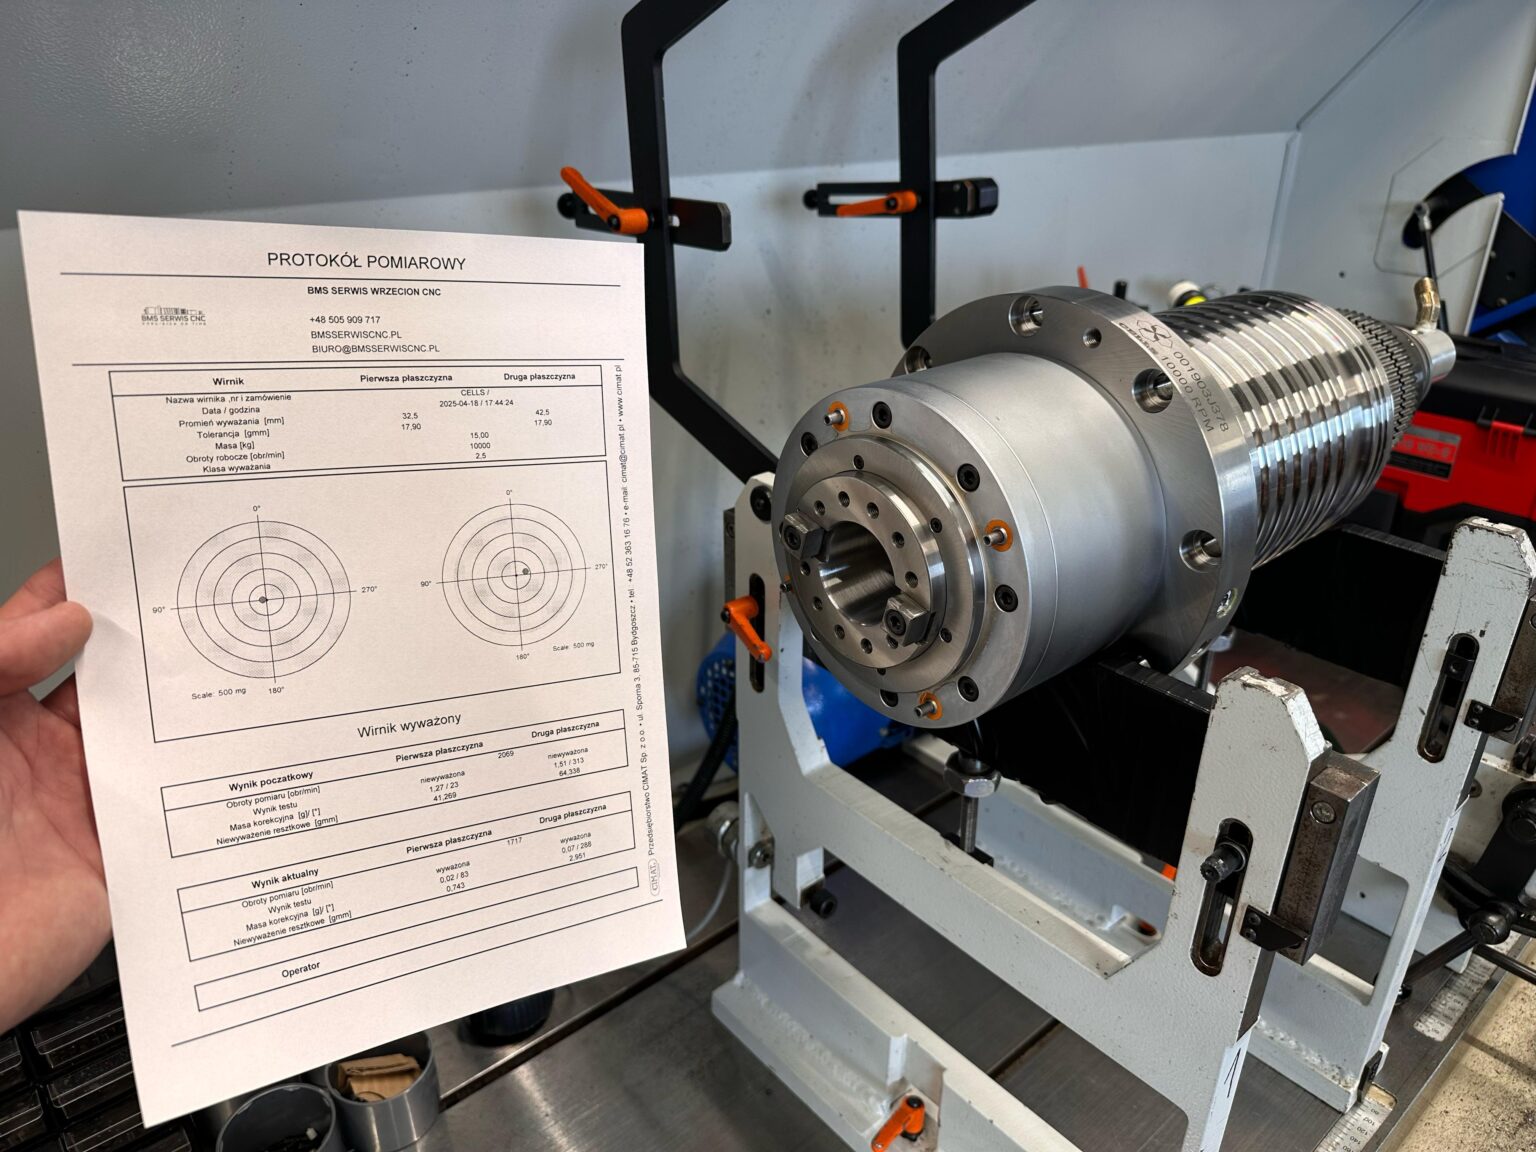
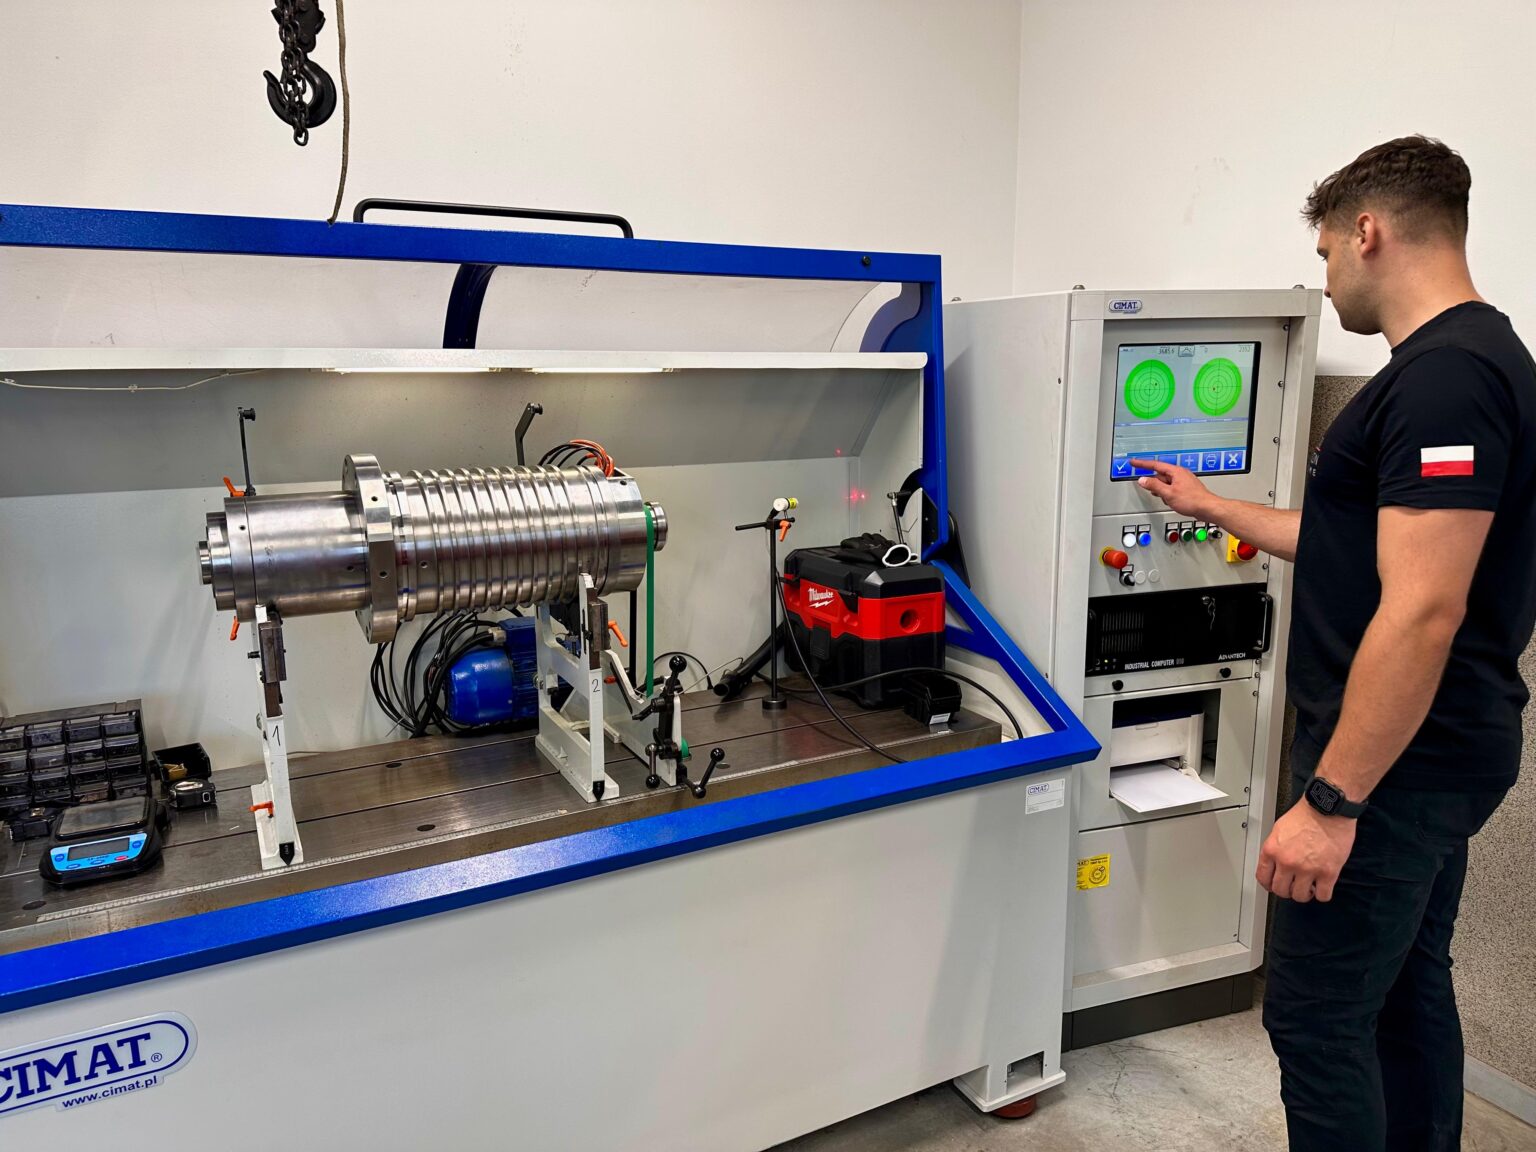
- balancing the rotor and shaft across low, medium, and high RPM ranges,
- using CIMAT workstations for real-time analysis,
- achieving ISO G0.4 precision class or better,
- eliminating sources of vibration and noise that cause bearing damage.
With proper balancing, the spindle operates stably even at speeds exceeding 30,000 RPM.
The tests include:
- measuring axial and radial runout,
- analyzing spindle performance both cold and under load,
- checking noise levels and operating temperature,
- verifying tool clamping force,
- checking signals from sensors and encoders.
Testing helps detect any issues early and allows for final calibration of spindle operating parameters.
During the burn-in test, we monitor:
- temperature stability at high speeds,
- vibration level of the rotating assembly (measured in mm/s),
- noise level and smoothness of rotation,
- tool clamping force and correct operation of auxiliary systems (sensors, encoders).
Successful completion of the test allows the spindle to be prepared for shipment with full documentation.
Each spindle comes with:
- a vibration and performance test report (with graphs),
- a tool clamping force protocol,
- a final quality checklist,
- a warranty card (6 months for mechanical components and bearings).
The spindle is ready for immediate installation upon delivery.
As part of the installation and calibration process, we perform:
- alignment of the spindle axis relative to the table or spindle housing,
- calibration of angle and axial position in relation to the machine’s coordinate system,
- verification of coaxiality and parallelism relative to the X/Y/Z axes,
- adjustment of operating parameters to minimize geometric deviations.
As a result, the installed spindle ensures maximum machining precision and extended tool life.




Most common spindle problems
and how to solve them
Spindle vibrations at high speeds
Worn bearings or improper balancing.
Solution – Bearing replacement and dynamic balancing reduce vibrations.
Spindle overheating
Poor lubrication quality or damage to clamping components.
Solution – Seal replacement and lubrication mechanism refurbishment.
Uneven tool runout
Worn spindle taper or weak tool clamping force.
Solution – Taper grinding and clamping force calibration eliminate the issue.
Uneven machining surface
Taper runout error, imbalance, or worn bearing seat.
Solution – Taper grinding, dynamic balancing, housing restoration.
Frequently
Asked Questions

Take advantage of professional spindle repair
today
Don’t wait for a failure – restore your CNC spindle’s performance with certified precision.
Full repair warranty
Fast turnaround time
International shipping available
Request a quote
